The metal on the interior side of the doors has a textured finish. At the top of the driver's door, it looks as if the metal has been sanded down in areas. The outside of the door has a little rust spot which should be fixed. I decided that I would strip the paint off the inside to see if the metal texture was still there or if it had been sanded off completely making it better to just replace the door.
The front section of the door stripped down fine and there was just so much paint you could not see the texture. However, a little further back on the door, I found a section of Bondo. It seems the door was dented at the top some. In their normal fashion, the old owner, drilled three holes to pull the dent and then covered the area with 3/16" of Bondo. It is ridiculous to have repaired it this way.

With the Bondo removed, the dent remains but in my opinion it looks much better. Perhaps I will remove the window and hammer out the dent when I do some body work on this door later.

For now, I decided to just weld up the holes and then paint the door. The repair is not perfect and I'm not sure what you do about the lack of texture in this section but I'll go ahead and paint it and then figure it out later.


Since I had stripped the top of the door, I figured it would be best to just strip the entire door and paint it before putting on weather stripping. I've painted the passenger door but not the driver as I knew it needed work and it was not really worth the time to just top coat it and compound the work later. Stripping the door took some time but there were really not many other issues.

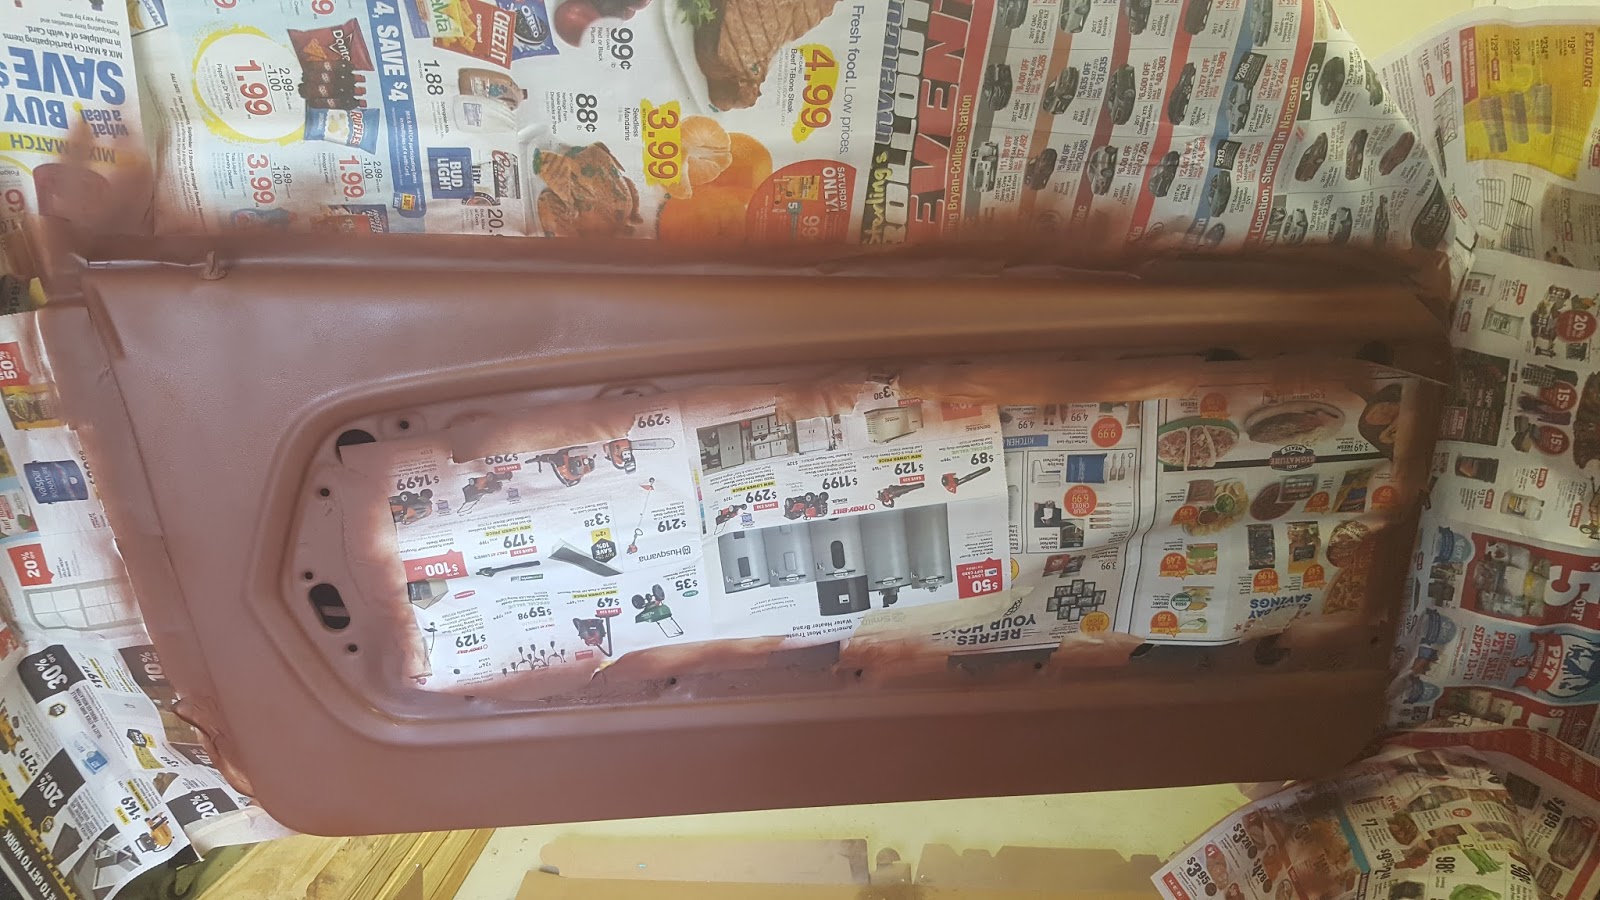
With the door stripped, I could see some areas of surface rust which were under the paint. I decided to top coat with some Rustoleum Rust Primer and the top coat with some Satin Black. I covered as much of the car as possible with old newspaper pages and masking tape. I then put two coats of primer followed by two coats of paint.

With this job done, I'll let the paint dry and then get back to the original job of replacing the weatherstripping.