Saturday, February 2, 2019

Preparing for Ford Nationals - Subwoofer Box Build

I spent many more hours than I expected today working on a subwoofer enclosure for the Mustang.  The job was not especially difficult but I was working to make it as perfect fitting as possible.  By the end of the day, the box was complete but I need some carpet to cover everything.  

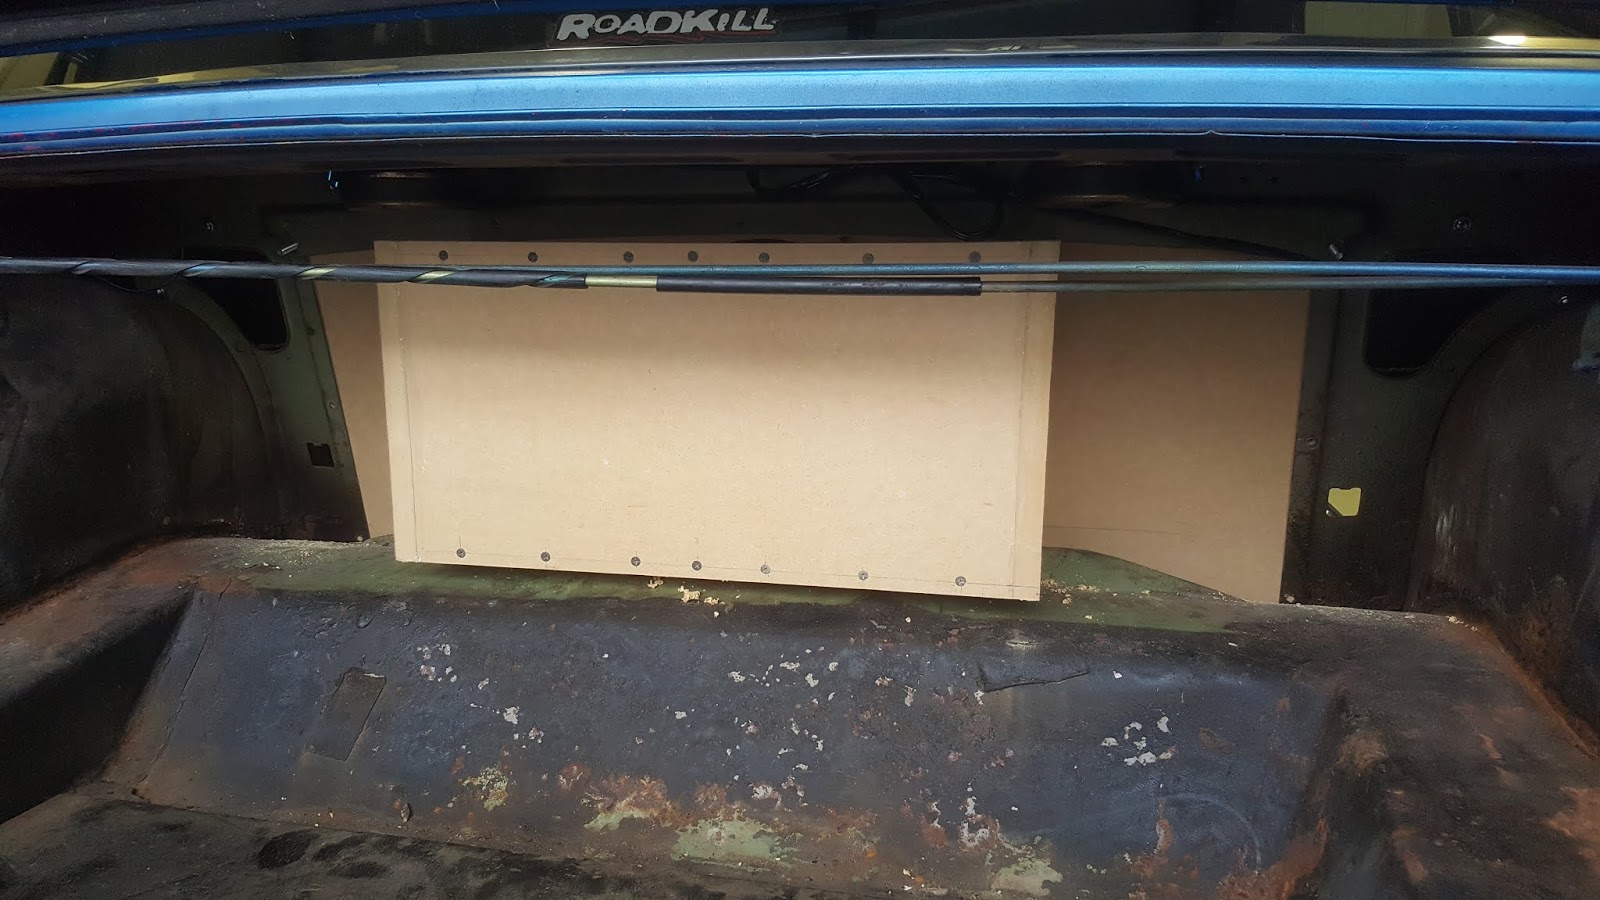
I decided to replace the metal divider I created behind the back seat with the front panel of the subwoofer enclosure.  I started by copying the shape of the metal divider panel to 3/4" MDF with the addition of a few angle cuts along the lower edge.  The first panel I made fit quite well but I decided to make a second to get the fitment perfect.

Behind this divider, I built a small box which attaches to the divider panel.  The divider panel then has a whole cut slightly larger than the diameter of the 10" speaker which essentially recesses the entire speaker.  The speaker itself is mounted to the front panel of the subwoofer enclosure.  This is the box before adding the front panel where the speaker mounts.


I centered the subwoofer in the new seat divider panel.  The metal bars which run vertically on the back of the rear seat pass on either side of the subwoofer.  This ensures that even with the speaker recessed it will not hit the back of the seat.  Additionally, placing it in the middle keeps anyone from leaning back against it compromising the clearance.


The box itself is 20 3/8" from one side to the other, 10 1/8" from top to bottom, 6 1/2" deep at the top, and 9/16" deep at the bottom.  The angle of the box perfectly matches the seat divider and makes the back of the box perfectly straight up and down.  The box ends at the edge of the trunk panel as it starts to angle down towards the gas tank.  I made it so the I can create a block off panel which attaches to it and stretches from one side of the trunk to the other.


The speaker I'm using is a Kenwood WPS1000F which is a shallow depth 10" subwoofer.  The recommended sealed box size for the speaker is .60 cubic feet.  The speaker itself displaces .04 cubic feet.  My original plan resulted in a .64 interior volume box but after a few changes I made during the build process the interior size was .62 cubic foot.  This is certainly close enough and I'll be adding polyfill to the inside which will make up the difference.

I'll need to obtain some carpet to finish off the box.  The pictures above are from the mock up process.  Once I confirmed it fit, I took it all apart and screwed it back together with Liquid Nails at each seam.  I'll get some carpet and wiring for my amplifier and finish up the installation another weekend.  

Thursday, January 31, 2019

Preparing for Ford Nationals - Primary Jets & Heat Sleeve

Tonight, I took a few minutes to install some items which arrived from Summit Racing.

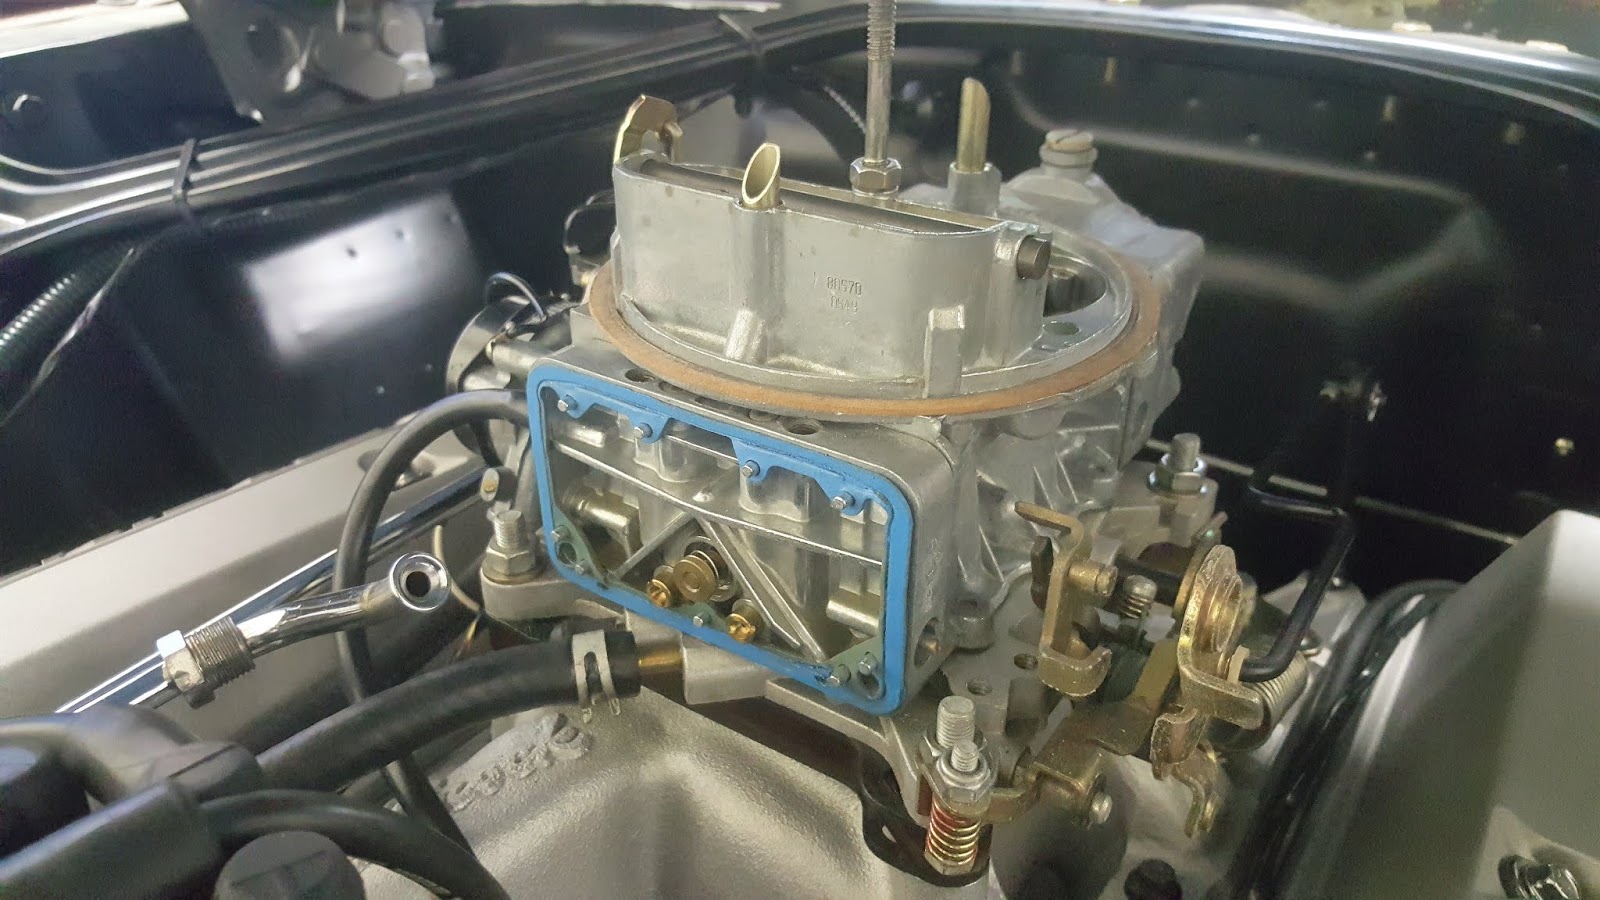
The sleeve is made by DEI (part# 010418) and it is a 36" long insulated sleeve that is .5" in diameter which fits perfectly over a 3/8" fuel line.  The jets are size 59 for the primary side of the carburetor (part# 122-59).


The jets were quick and easy to install.  This should finish the jet changes needed.  It is rather late tonight so I'll wait to this coming weekend to check the change with the AFR gauge.


I cut about 10" off the heat sleeve so it would fit the exact length of the fuel line from the carburetor to the metal fuel line which feeds the carburetor.  I have trouble with the engine not wanting to start after driving for a while.  I have a carb spacer to keep the carburetor cooler and though this would be a bit of additional cheap insurance.  I'm not sure it will make a great deal of difference but at $12 dollars I considered it worth it.  


While I was at it, I checked the float level on the front and rear bowls and it is perfect.... ust below the slight plug holes.  

Sunday, January 27, 2019

Preparing for Ford Nationals - Random Small Projects

Today, I did a few small items on the Mustang in order to prepare for the trip to the Mid-America Ford Nationals.  

Check Torque on Intake Manifold
I checked the torque of the intake manifold bolts and a few needed a little tightening to get to 15 ft/lbs.  I'd tightened them previously after installing the intake but I've not tightened them since.  After a little driving, I felt it best to give them a check.

Check Water Pump Bolt Torque
I decided I'd check the torque on each of these and the water neck to ensure they in now way are contributing to the coolant leak.  Unfortunately, I could not get my torque wrench to most of these due to the pulleys.  I tightened them by hand to what I believe to be 15 ft/lbs.  Several of them were a little lose but only one has faded paint around it as if it might be part of the leak.

License Plate Light Grommet

I picked up a rubber grommet from Lowe's and used to to reinstall the license plate light.  It was not a perfect fit but with some work I managed.  The goal was to get it back in and seal up the hole so as to not allow any exhaust fumes into the vehicle.  My new grommet will do that job without the need to buy a new light assembly.

Door Pull Knob Rattle
I thought I had a rattle from the door unlock knob on the drivers door.  However, as I checked closer today, it was not there but the quarter window behind the door.  I took everything apart to investigate and found some loose bolts which hold the quarter window support.  While I had it apart, I added some Dynamat to the quarter window panel as I had left that part out when putting on Dynamat in the past.

After taking care of these items, I wiped down the car and then cleaned out the trunk.  This does not really help get me ready for the Ford Nationals trip but you feel better about your vehicle when it is clean.   

My list to complete still includes the following.  I have until June but since I had some time this weekend, I thought I would get started...

Lubricate U-Joints & Check Torque

Fix Rattle by Clutch Pedal
Replace Firewall Grommets
Fix Sqeaky Leaf Springs
Install Amp & Subwoofer
Insulate Fuel Line to Carb
Correct Air-Fuel Ratio (Fronts to 59)
Check for Leaks on AF Sensor
Headlight Relay Harness
Fan Shroud
Check Drive Shaft Length
Add Underlayment Pieces
Replace Reverse Lights
Add Air Conditioning
Fix Anti-Freeze Leaks
Cowl Vent Block-Off Plate

Saturday, January 26, 2019

Preparing for Ford Nationals in Tulsa


My son and I decided to take a road trip in June to the Ford Nationals.  The trip is almost a 500 mile drive (one way) from my home which would be the farthest I've driven the Mustang.  I'd like to do a bit of maintenance to get the car in top condition and have been thinking of what needs to occur.  So far, I have the following list:

Lubricate U-Joints & Check Torque
Check Torque on Intake Manifold
Check Water Pump Bolt Torque
Fix Rattle by Clutch Pedal
Door Pull Knob Rattle
Replace Firewall Grommets
Fix Sqeaky Leaf Springs
Install Amp & Subwoofer
Insulate Fuel Line to Carb
Correct Air-Fuel Ratio (Fronts to 59)
Check for Leaks on AF Sensor
Headlight Relay Harness
Fan Shroud
Check Drive Shaft Length
Add Underlayment Pieces
Replace Reverse Lights
License Plate Light Grommet
Add Air Conditioning
Fix Anti-Freeze Leaks
Cowl Vent Block-Off Plate

I could find more along the way which needs to occur but I think this is a solid start.  In addition to these items, I need to drive the Mustang a considerable amount to ensure it is up to the task.  

Carburetor Adjusting Again 2

At the end of December, I decided to begin adjusting the jets on the carburetor as under acceleration the engine was very rich (10.5:1).  It was even rather rich at cruise but I don't recall the actual AFR.  

I ended up changing the front jets from 60's to 58's which is still 4 jet sizes over the as delivered setup.  Additionally, I had 69's in the back and I ended up with those same jets at the end which is also 4 jet sizes over the setup as delivered.  With this setup, my AFR was at 13.5:1 under hard acceleration and a little on the lean side at cruise (15:1).  The goal is to be at 12:5 under acceleration and around 14:1 at idle and at cruise.

I ordered a set of 70's for the rear and install them today.  This should increase the AFR under full acceleration but not impact the AFR at cruise.  If I need to, I'll adjust up the fronts to 59's which I will need to buy as I don't have them currently.  I figure I'll test this out before I start buying anything additional.  

Current jet sizes: 54, 56, 57, 58, 60, 62, 65, 67, 69, and 70.