Tuesday, March 16, 2021

New Borla Pro XS Mufflers - Hoping to Eliminate Drone!

The current exhaust on the Mustang has a fair amount of drone on the highway.  I love the sound of the exhaust but when we take any type of road trip you can hardly hear the radio or have a conversation.  I've done what is possible with Dynamat and other stock style sound deadeners leaving the option of replacing exhaust components.  I've hesitated to this point as I hate to give up the current sound but I want it something that any member of my family would not hesitate to go for a long trip due to the drone.

Before replacing the exhaust, I attempted to use a decibel measuring application on my phone while driving around in the Mustang.  I expected to give me some objective measurement on how much (if any) the new exhaust is.  However, with idle, driving on the highway, driving at 2,000 under load, and going 60 with it in neutral the application measured the sound at a fairly consistent 75 db.  The only way I can explain the fairly consistent db is if it is just the certain frequency of the drone which is annoying.  

This past weekend I began the project of replacing my current Dynomax Super Turbo mufflers (Part# 17733) with a set of Borla Pro XS (Part# BOR-40358).  Removing the current exhaust with the rear axle in place was a challenge as the current mufflers were essentially crimped on by the exhaust clamps requiring much of it to be removed in large pieces.  I worked on it some Saturday morning and again this afternoon and everything is now apart.

Once it was apart, I noticed the Borla muffler inlet and outlet are actually a little larger than my 2.5" exhaust.  They slipped on rather loosely such that I really did not think a good seal would be possible.  I rented an exhaust expansion tool (EverTough 067097) from O'Reilly and used it to slowly open up the size of the exhaust pipes until the Borla mufflers slid on with a bit of resistance.  I then used it on the Dynomax mufflers to essentially create a dolly inside the muffler inlet and outlet so I could return them to a round shape so they could be used again if I desired.

The new Borla muffler is a straight through design which I hope does not make it incredibly loud.  

I shined a light down into the Dynomax muffler but it is a little hard to tell what exactly is going on inside.  The center inlet runs exhaust through a perforated tube and then to one side using a flow director at the opposite end of the case.  It seems to run in a large circle inside back around to the side where it has the offset exit.  Its hard to see how it is able to flow this way without the center inlet getting in the way of the exhaust exiting.  I searched for a picture of the internal design and found someone took one apart to find the following.  My case seems identical except perhaps a little longer.  


Sunday, May 10, 2020

Coil Spring Completion and Driver Upper Ball Joint Replacement

Today, I finished the replacement of the front coil springs by handling the driver side.  This included not only replacing the spring but also the upper ball joint.  

A few months ago, I decided I'd check the front suspension, make sure everything remained tight, and lubricate everything.  In the process, I learned of a slit in the driver side upper ball joint boot.  It was not horrible but it would certainly cause the ball joint to fail early.  

The ball joint replacement required that I grind off the rivets which held the original in place.  The new one is a Moog K8142 which bolts in place once the old one is removed.  The current upper control arm is a Moog unit so I thought I might be able to just replace the boot but the new one is held on by a trim ring while the original had a metal ring inside the boot which held it in place.  Regardless, the job is done and did not take too long.

If you look close, you can see the slit running from left to right on the top surface of the boot.


The new one bolted in place...

I then installed the new spring with the entire job requiring about 2 hours due to taking a leisurely pace with it all.  

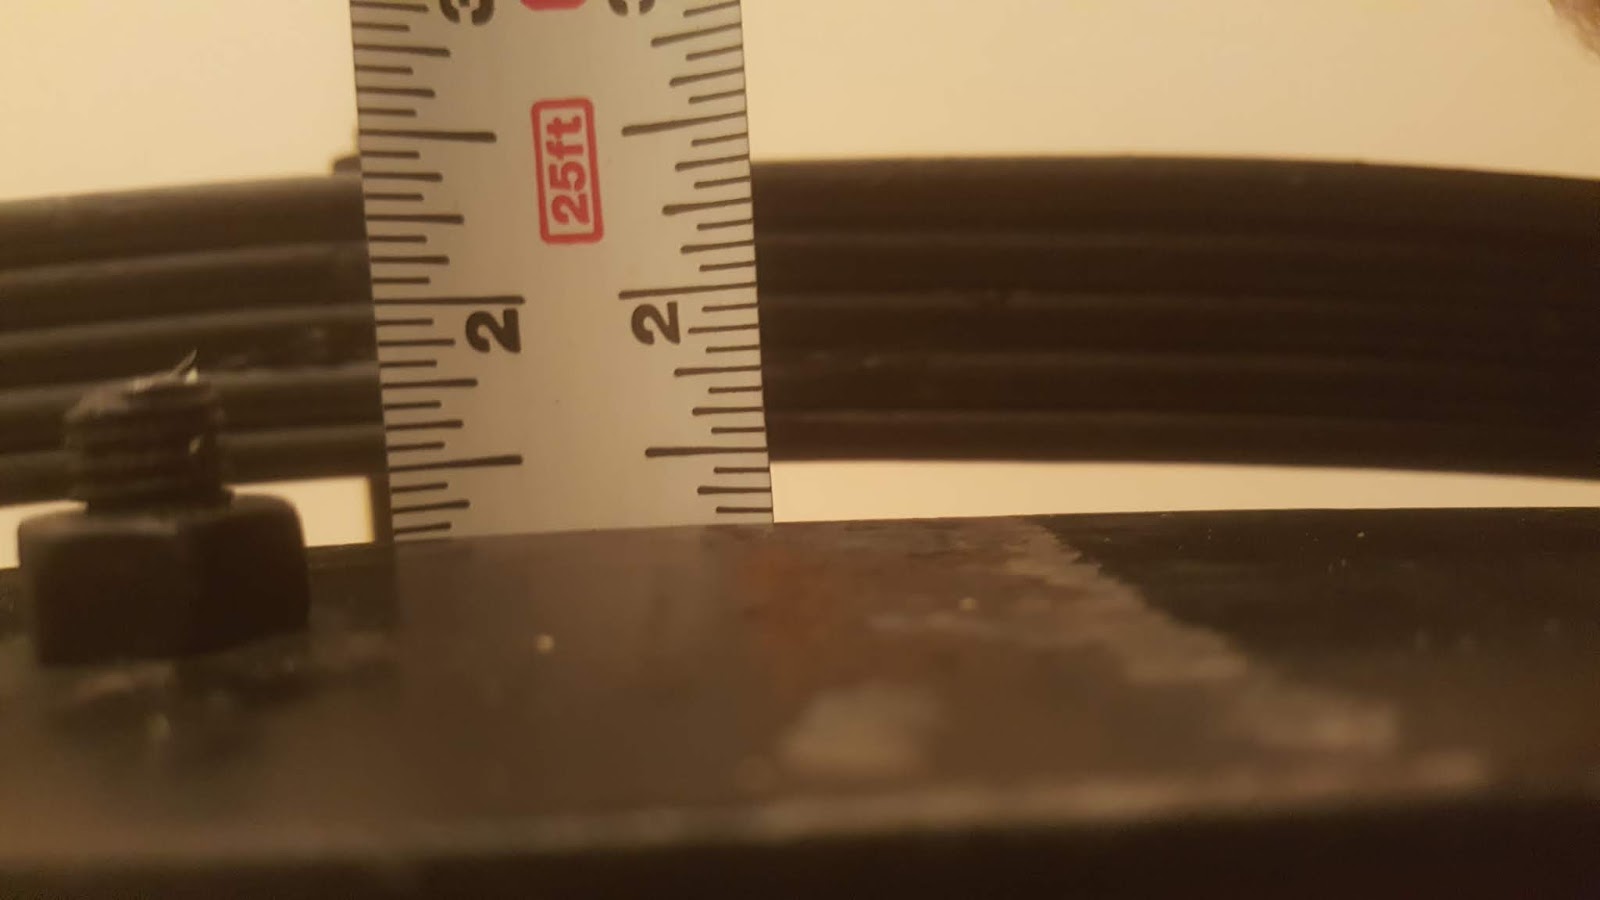
I drove around the block some with the rear suspension bolts still just snug.  The front is now at 25 1/8" to the bottom of the fender which is a 1" increase over the 24 1/8" height before starting work.  I did not expect as much of an increase as I used the exact same springs and cut them exactly 5/8" higher.  Being longer, I expected the spring rate to be every so slightly less such that it would be between 1/2" and 5/8" higher.

The rear is still a bit of a mystery.  I'm still using the 1" lowering blocks and stock shackle with 5 leaf springs.  The passenger side is at 25 3/4" while the driver side is at 25 1/2" which has not settled much although I've not driven much either.  This is not much different than it was before switching but I'm completely full on gas which likely makes a bit of a difference.

I'm tempted to buy a set of .75 or .5 lowering blocks just to raise the rear a slight bit more.  I've not had the tire drag but then again I've not had many people in the car or the trunk full of gear for a road trip.  This would raise the rear to make it balance more with the front of the car.  I could also cut the front springs down just a bit more.


The best option would be to leave it alone for a bit now and drive it around some.  The front might settle some in the days to come.  It would be best to give it that opportunity before making any permanent change like cutting them.  If I were to do anything, I would try some different blocks to balance it out some for now as I wait to see if it changes over time.  


Thursday, May 7, 2020

New Coil Springs - Passenger Side Done

I purchased a new set of front coil springs (NPD # 5310-8) and have been waiting to install them.  As a baseline, I measured the front suspension and the height to the bottom of the fender lip was 24 1/8"

I'm replacing my current springs with the exact same style I used before which are for a big block car.  The springs are rated at 428 lbs and set the ride height at 11.5" which is a little high.  I'll be cutting some off but not a full coil like I did with the last set.  My goal is to raise the front end by about half an inch which is not much and is a little picky.  However, now that I have raised the rear, the front will look rather strange unless I raise it at least a little.

I removed the passenger side coil spring and set it next to the new one.  I oriented them the same so it was each the height of the current spring on the new one.  I then measured up on the spring to the height that the overall spring height is 5/8" taller and cut both of the new ones there.  

I installed just the passenger side spring and went for a drive around the block.  The passenger side currently sits at 25 1/8" so I gained essentially an inch.  Trouble is that I know the raised height on one side is loading the other side of the suspension some.  If I move both up equally, perhaps this side drops more or perhaps it is actually shifting weight to the back some now.  It is hard to state.  I'm debating if I leave it alone or cut a little bit more off, install the driver side, and then pull the passenger side back out to fine tune it.

Since I had the measuring tape out, I measured the back and found the passenger side is at 26" and the driver side is at 25".  This is a little bewildering.  

When I installed the 1" lowering blocks, I drove around a bit to try to get the suspension to settle.  While I was out driving, I filled up with gas which was a bit of a mistake as it changed an extra variable.  When I made it home, I found the driver side was 1/2" lower than the passenger.  The blocks are exactly the same height so I figure it is something with the spring rates being slightly different or more gas weight on that side but none of it really makes any sense.  

As I said before, one of the many joys of working on a car with parts from China.  

Saturday, March 7, 2020

New Rear Leaf Springs 3

I put on the 1" blocks on the rear suspension this morning.  Before driving, I quickly measured the passenger side and found it to be 26 1/8" which was about as expected as it was right about 27" before.  I then decided to go on a drive with the bolts just snug so it could settle.

While out, I completely filled the gas tank which was probably not the best decision for evaluating height changes.  When I returned, the passenger side was at 25 3/4" and the driver side was at 25 1/2".

Unfortunately, this means the driver side is back where it started at with the 4.5 mid eye springs.  That is a little surprising as that means the with the 1" blocks and a tank of gas that the driver side dropped 1.5 inches.  It is visible that one side is lower which is rather frustrating.  I keep throwing money at the problem but nothing sees to fix it.

I'm probably going to leave it for a bit now and come back to it later.  


Sunday, March 1, 2020

New Rear Leaf Springs 2

The new Grab-A-Trak 5 leaf, standard eye leaf springs arrived this past weekend.  From the moment they arrived, I have worried that I made a mistake in accepting the 5 leaf springs instead of waiting for the 4.5 leaf springs to be available.  I'm afraid they will produce an overly stiff ride which is not really what I'm looking for but there is no turning back now.

I took off the 4.5 leaf, mid eye springs today and sat one on the ground next to the new 5 leaf springs.  The 4.5 leaf springs appears to have flattened out over time as it is 1" longer than the new 5 leaf spring.  The 5 leaf spring is taller by 1.5" at the axle mounting plate.  I imagine this means the car will sit about 1.5" taller but that is a rough guess.  That is more than I expected so we will see.


The 5 leaf springs seem exceptionally heavy so I thought I would weigh both sets before installing them.  I found the 5 leaf springs weight 37 lbs each and the 4.5 leaf springs weigh 35.2 lbs each.  I expected the 5 leaf springs to weight much more just from holding them but am glad to see there is little difference.

...

I installed the 5 leaf springs over the course of the last three evenings.  The front leaf eye bolt and shackle nuts remain relatively loose so the suspension can settle quickly.  Once I drive it around the block once, I will get them all tight so there is no binding.  Unfortunately, when I took the vehicle off the jacks, the rear height is at 27" which is way high.

I installed the springs using the original length shackles instead of the extended ones which raised the rear 5/8" a few years back.  Since the height using the mid-eye springs with the original shackles was 25", I expected a height of 26".  This was my expectation as the mid-eyes are advertised as... "They will set the rear of your Mustang 1" below stock ride height".  My new 5 leaf springs are advertised to... "They will restore the rear of your Mustang to stock ride height". I can't help but believe this is because they are 5 leaf springs and do not give as much under the weight of the car but the man I spoke with (Doug) indicated that would not make a difference when he spoke with me about changing my order to a 5 leaf spring.

I've not driven around the block yet as it is rather late.  I've rolled the car back and forth some and bounced the back end with my body weight but it makes no difference.  The car did not settle much in the past when I installed the 4.5 leaf springs.  While they appeared flattened on the ground next to the 5 leaf, I measured from the day I installed until recently and nothing has changed.

This is one of the major disappointments of restoring a classic Mustang.  More often that I would like, the parts you purchased to fix or restore your car are advertised incorrectly, don't fit, or are simply of very poor quality.  It unfortunately makes the two steps forward and one step back statement a reality.


#787040